Querying the DOM
In this tutorial, we will build a very simple web page so that we can explore using JavaScript to query DOM elements and then change the content (text) of those elements.
Building the Web Page
Section titled “Building the Web Page”-
First, we need to set up a web page. Create a file called
index.htmland enter the following text:<!DOCTYPE html><html lang="en"><head><title>HTML vs. The DOM</title></head><body><h1>HTML vs. The DOM</h1><p>When we write HTML, we create tags (like <p>), add text, and reference images, stylesheets, etc. For example</p><figure><pre><code><h1>Hello World-Wide Web</h1></code></pre></figure></body></html> -
View the web page in your browser. (See Running Web Projects if you don’t know how to launch the web server from VS Code.)
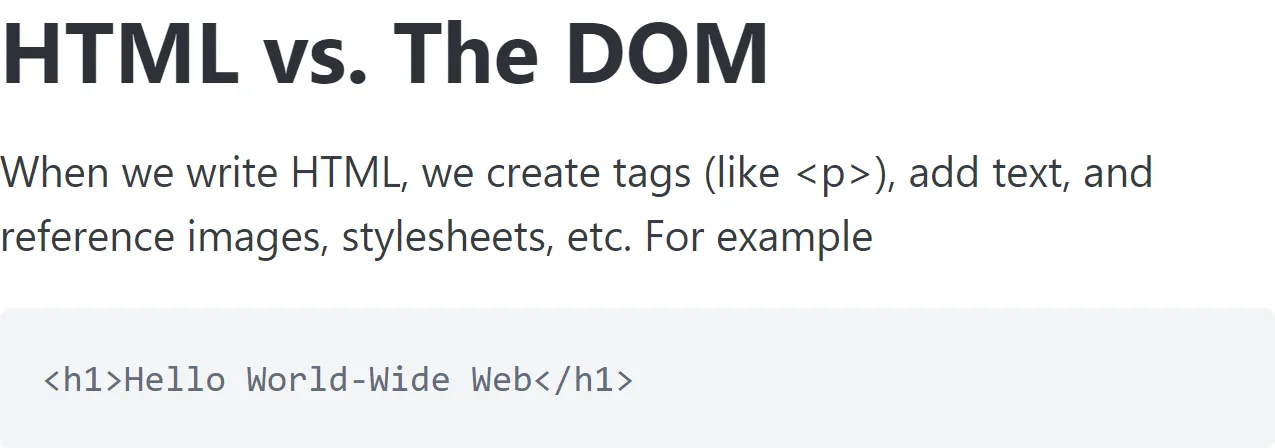
When you see the HTML page in your browser, you should see something like this (it might vary a bit, depending on your browser).

-
Let’s use a third-party stylesheet called PicoCSS. Add the following to the
<head>, just below the<title>element.<link rel="stylesheet"href="https://cdn.jsdelivr.net/npm/@picocss/pico@2/css/pico.min.css"> -
Modify the
<body>tag by adding the CSS classcontainer.<body class="container"> -
When you view it in the browser, it now looks like this.
Not terribly different from the plain HTML, but this lesson is about JavaScript, not HTML and CSS.
We’ve created a simple web page with minimal content. If you’ve done something like this before, then it should feel pretty self-explanatory. It’s time to move on to working with JavaScript!
Exploring the DOM
Section titled “Exploring the DOM”In this part, we will begin exploring our web page using JavaScript. Specifically, we’ll be exploring the document.querySelector() function.
-
Return to the browser and view web page you created above. Open the browser’s dev tools (press F12) and select the console.
-
Type the following JavaScript in the console and press Enter.
document.querySelector('h1') -
You should see the following in the terminal. If you hover your mouse over this result, you should see that the browser highlights the corresponding element in the browser.
<h1>HTML vs. The DOM</h1> -
Type another line in the console, but don’t press enter. The code looks just like the previous one, but notice the dot (
.) at the end.document.querySelector('h1').You should be seeing a dropdown of all sorts of items. These are the members of that
<h1>DOM element.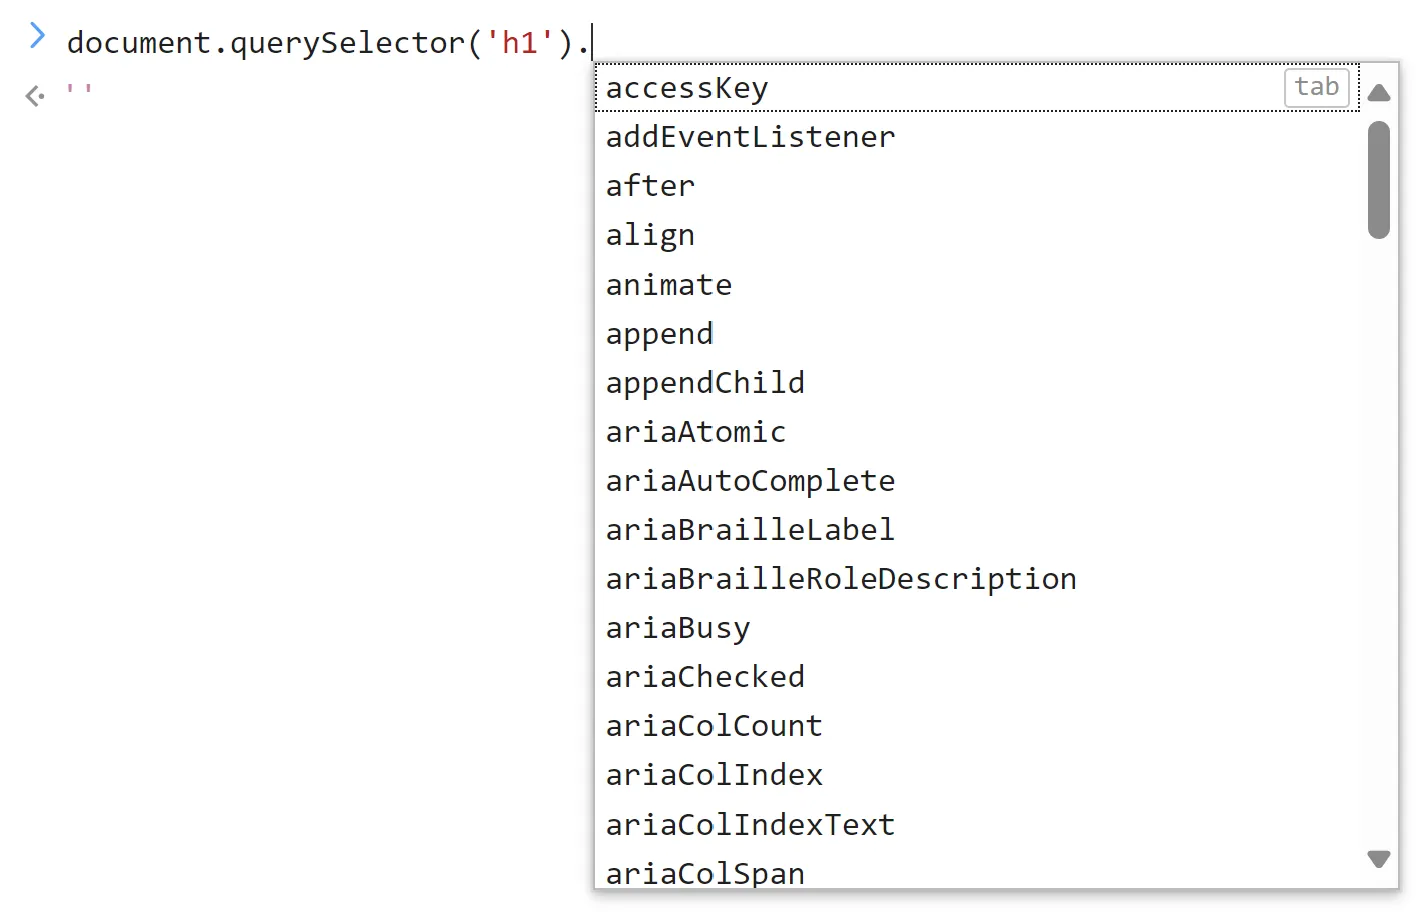
-
Finish typing out the line with the text
tagName, then press Enter.document.querySelector('h1').tagNameYou should see the the output
'H1'. -
Try it again, but with a different member of the
<h1>DOM element. Enter the following code in the console.document.querySelector('h1').innerTextThis time, the output should be
HTML vs. The DOM, but without the<h1>open and close tags. -
Let’s look for another element. Enter the following in the console. It should display the HTML for the
<figure>tag.document.querySelector('figure') -
Lastly, we’ll see what the HTML looks like inside the
<figure>element. Enter the following in the console.document.querySelector('figure').innerHTMLYou should see the following displayed in the console.
<pre><code><h1>Hello World-Wide Web</h1></code></pre>
In our browser, we can use the document.querySelector() function in JavaScript to find HTML Elements in the web page. Notice how I’ve used the term “HTML Elements” rather than referring to them as “tags”. That’s because our HTML source code (what we typed in the index.html file) is something different than what the browser renders or produces when it shows us that web page. It might be helpful to think of our index.html as a recipe whereas the thing we see in the web browser is the result of following that recipe to create something real you can eat. You can find more information in the document [HTML vs. The DOM].
Author TODO:
- Link the above to the page yet-to-be-written for issue 12.
Editing the DOM
Section titled “Editing the DOM”We observed that we can use .innerText to retrieve the text and .innerHTML
to retrieve the HTML inside a DOM element. We can also use these properties to change the content of DOM elements. It’s time to discover how we can edit our document object model.
-
Let’s change the text in our
<h1>element. Type the following inside the browser’s console and then press Enter.document.querySelector('h1').innerText = 'HTML vs. The Document Object Model'You should see the text change inside the browser. We have replaced the original text of the element with something different. In the code we just wrote, the
=symbol is called the assignment operator. -
This next line of JavaScript will append text to what we currently have in the
<h1>element.document.querySelector('h1').innerHTML += ' (DOM)'Notice that this time we used the
+=operator. This is a slightly different assignment operator that allows us to add text to the end of what is currently in the DOM element. -
Now, let’s add a caption to our sample code. Enter the following in the console.
document.querySelector('figure').innerHTML += '<figcaption>Sample HTML Tag</figcaption>'This time, we didn’t just append plain text to our element. Instead, we changed the HTML of that element. Type the following to see what our
<figure>looks like as HTML.document.querySelector('figure') -
Let’s see what happens if we try putting in HTML tags using the
.innerText. Once again, we’ll change the<h1>element.document.querySelector('h1').innerText = 'I can write <u>JavaScript</u>'What did you see in the browser? Was the word JavaScript underlined?
-
This time, let’s use the
.innerHTMLproperty.document.querySelector('h1').innerHTML = 'I can write <u>JavaScript</u>' -
After observing the effects of running our JavaScript code, refresh the page (you can do this by pressing the F5 function key).
Did you notice how all our changes disappeared? That’s because we used JavaScript to change what was in the browser, not what was in our
index.htmlfile! Refreshing the page tells the browser to reload theindex.html.
You have just discovered how to programmatically edit the contents of a web page. This ability to iteract with our web page using JavaScript opens up endless possibilities for all sorts of end-user experiences!
Challenge: What’s Next?
Section titled “Challenge: What’s Next?”How might you build on this tutorial? Continue exploring the use of the .querySelector() function in the HTML page you built. Then go and explore how you can use it in the dev console for any web page! Lastly, take a look at the official documentation for the .querySelector() method on MDN.